Kitchen Remodel Project
Okay, now I know from personal experience that reading people's blog entries about their home-remodeling projects can be extremely boring and more than a bit odd (they're writing this why exactly?), but I also know, having consulted numerous blogging handbooks and primers dating back to the 1920s, that one should generally hold to the related maxims BLOG WHERE YOU ARE and DON'T BLOG FOR SOMEONE ELSE. So since my life has been generally consumed with one kitchen destruction and remodel project in the new house, I'm going to post a bit on what's been going on.
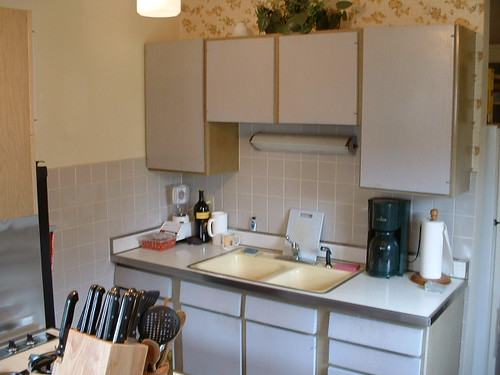
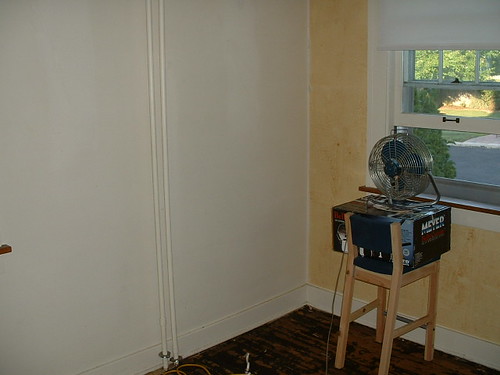
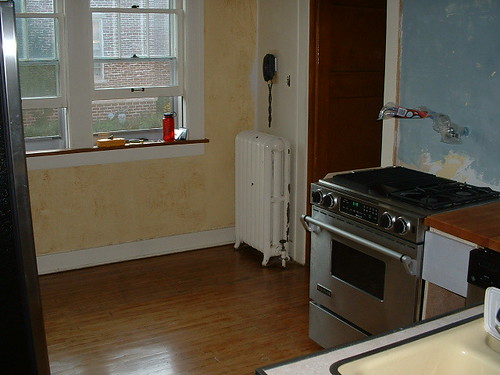
In the beginning ... there was a somewhat tacky and extremely un-navigable kitchen complete with aged wallpaper and plastic flowers (at top).
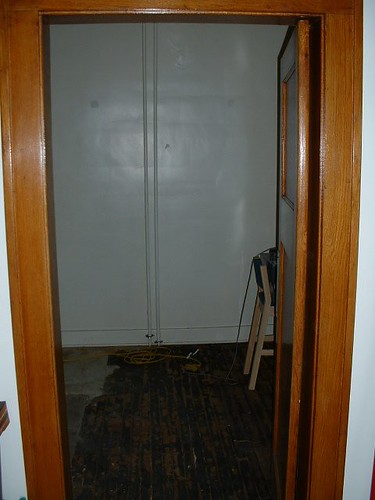
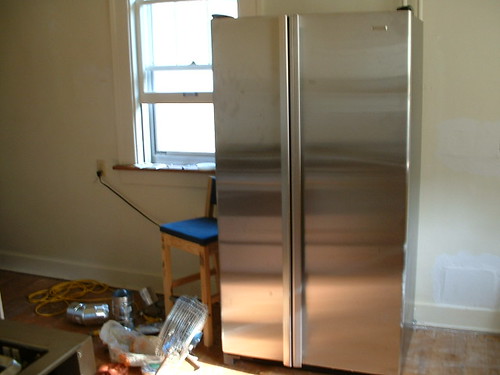
It had a peninsula that screwed up the traffic flow, the cabinets were dreadful, and the fridge was in the back hallway. (This image taken from the door to the dining room.)
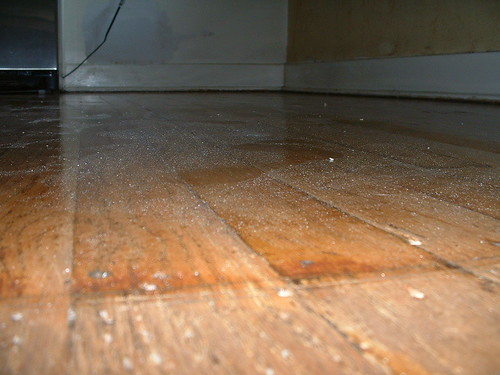
Oh, and did I mention the carpet? That was the first thing to go, revealing various layers of tile, linoleum, and that old friend impregnated tar paper. Below is a pic looking in from the dining room; you can see that I'd been scraping up the various layers of tile, working my way down to the Pleistocene of wood floor.
Next came the removal of the peninsula. I have nothing against peninsulas (Florida can be quite fun in the off-season), it's just that this one both clogged up the kitchen's traffic pattern and was dreadfully constructed. Fortunately, it was easy to tear out. When I wheeled the stove out of the front door, the neighbors greeted me with applause.
Another blessing was that the wallpaper came off in single pieces; a five-minute job to take off both layers. The impregnated tar (at the bottom of this pic) would not be so easy to scrape off.
A shot from the dining room again. The layers of flooring went into the mini-dumpster, and no one has asked to use our new plunger. :)

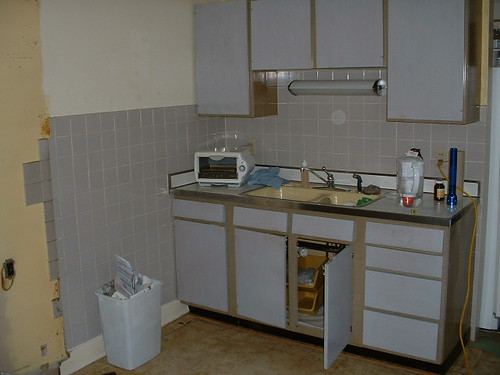
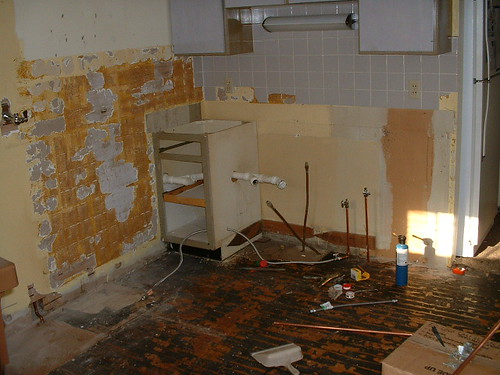
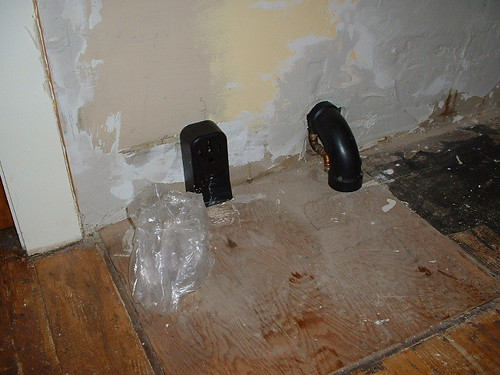
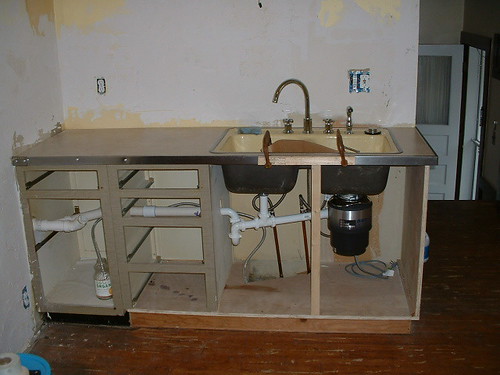
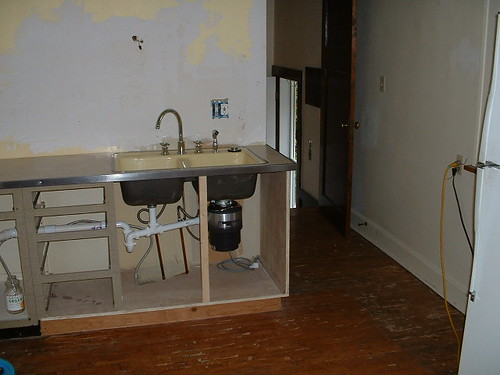
Okay, so here is a pic with just about everything "tore out." You can see that I've begun to make the new plumbing connections (since the sink will move a bit to the right), that the over-sink cabinets are still in place, and that the impregnated tar paper lingers.

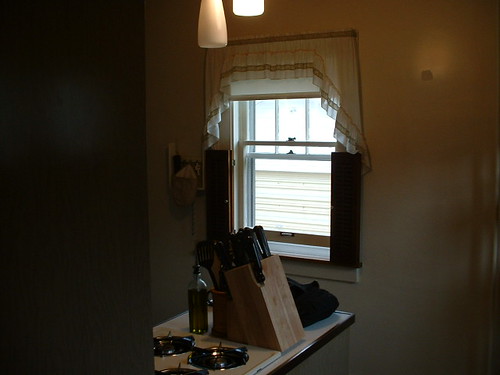
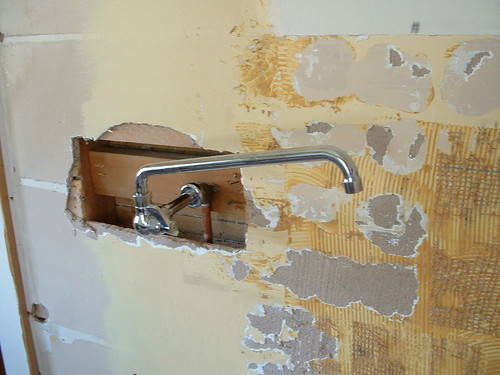
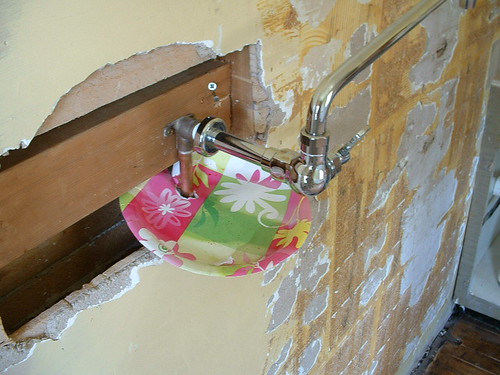
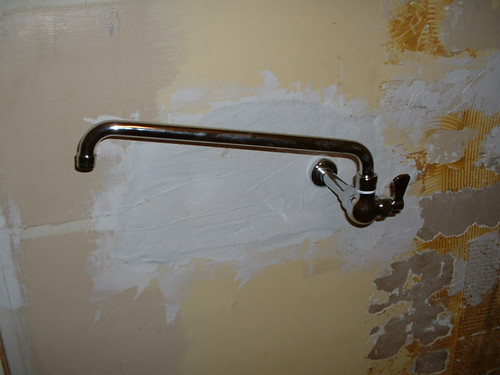
BP delights in demolition, meaning she took care of busting the tiles off the wall. Also, at the left of this photo you can see vestiges of the new pot filler -- my new fetish object.
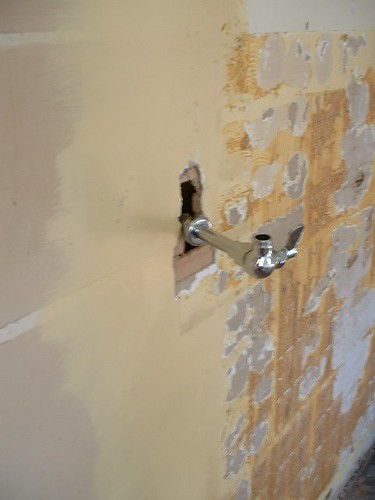
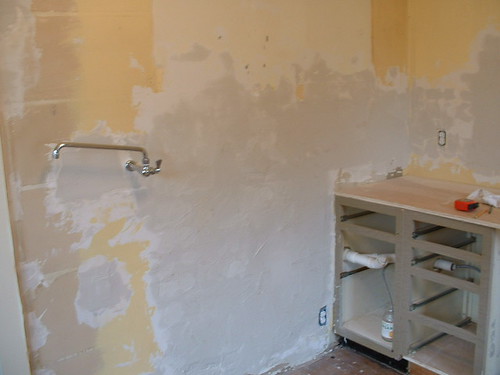
The pot filler when I first hooked it up.
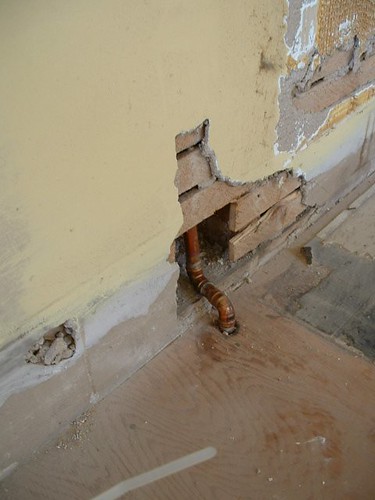
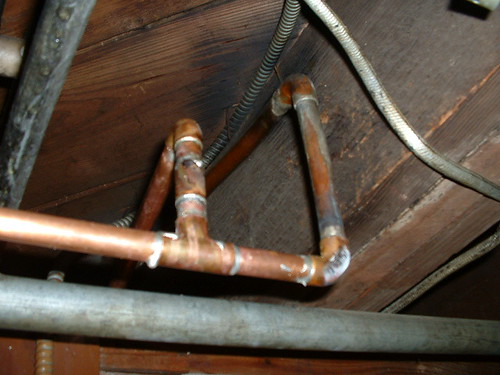
And the pot filler's improvised cold water connection where it hits the floor: the wall behind the stove is load bearing and braced beneath with serious beam action, so I routed the cold water line around the beams and then down through the floor to the basement.
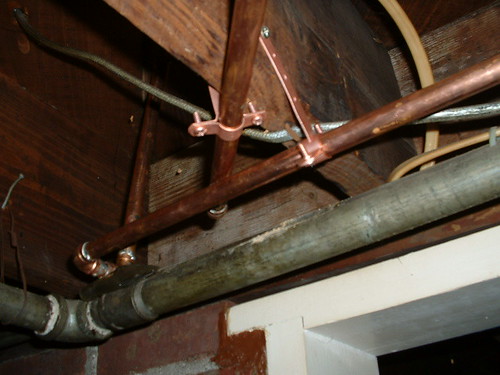
As I had it set up at first it was too wiggly, and I also found that I needed to brace the pipes to put more torque on the fixture. So I ended up setting the pot filler up like this (see pic below), making it waaaaay more stable -- a good choice, I think.
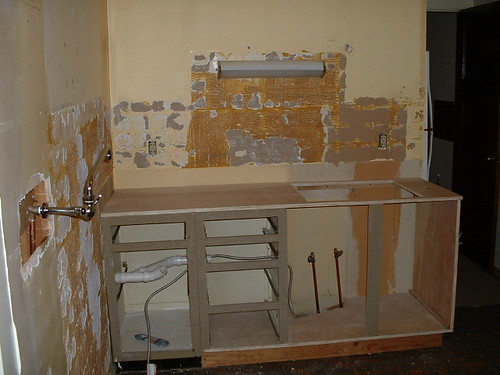
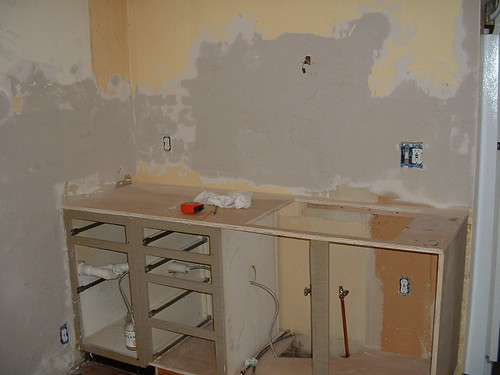
When BP was done laying waste to the wall tile, I roughed in the cabinets around where the sink will go. You can see that I reused some of the old cabinets that were in better shape (the rest is new plywood). I'll have to sand/distress them a bit before painting.
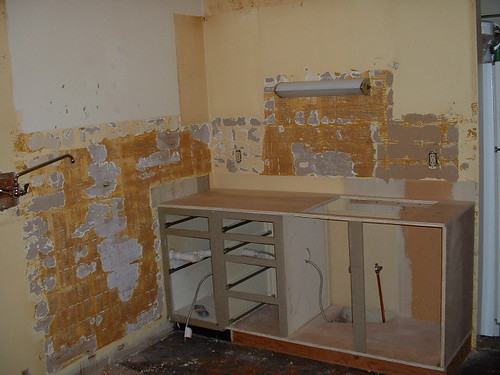
Another pic of the new sink cabinets. Note how the waste line snakes through the cabinets -- something I thought I'd reconfigure and then quickly thought "Uhhhh, nah, I think I'll keep that the same." :)
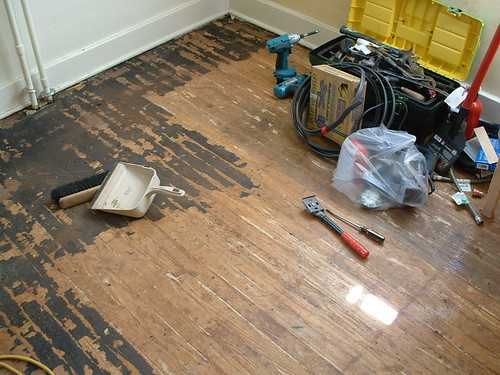
And then began the odyssey of the floors. Having attacked tar paper with various methods before (most successfully using a heat gun and putty knife), I opted this time for the old paint scraper technique. It went relatively fast, but in the heat and the humidity it was a serious killer. In total, I think I scraped up all the tar paper in about 6-8 hours.
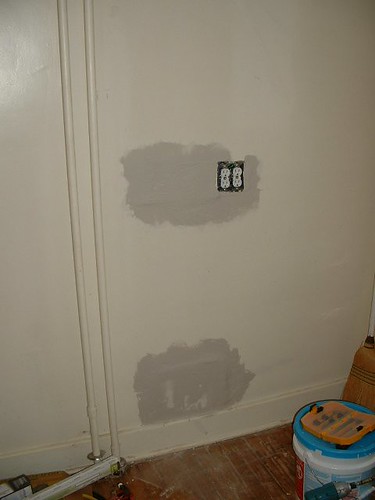
Godzilla's answer to installing an electrical outlet.
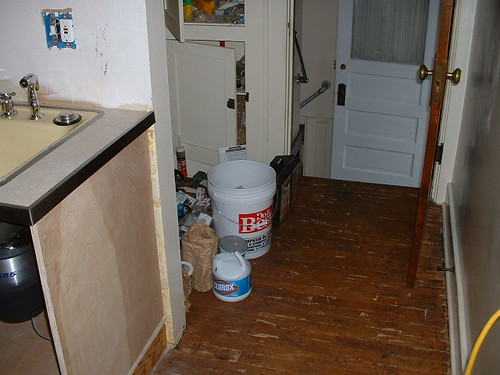
And with the floors scraped. More carpet, tile, and tar awaits in the back hallway, but since the fridge is back there it'll have to wait. Darn.
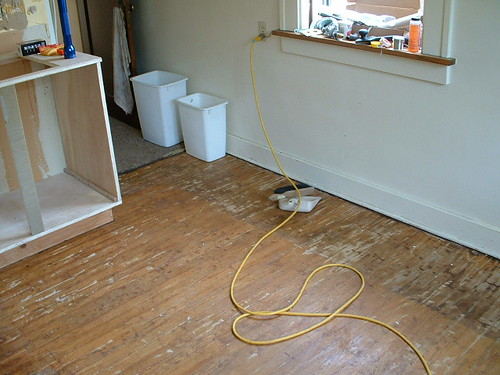
The floors taken from the back hallway looking toward the swinging door to the dining room.
Did I mention my expertise with plumbing? As a general rule, somewhere between 1/3 and 8/9ths of everything I install leaks, and what doesn't leak is usually a bit wonky. The pot filler (an item I picked up on eBay several months ago) seemed to be suffering from thread incompatability. Even with teflon tape, it leaked just the slightest little annoying bit.
Now, my theory was that the improvised paper-plate drip pan could be a permanent feature of the redesign. Certain interested parties vetoed that proposal, however, prompting a very valuable investment in pipe dope. Pipe dope rules!!! and the leak is no more.
On the day all leaks were finally repaired, BP and I came across some unused drywall in somebody's garbage pile. With those pieces, I started drywalling and mudding the walls.
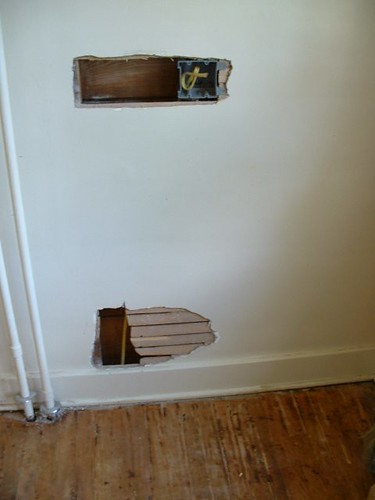
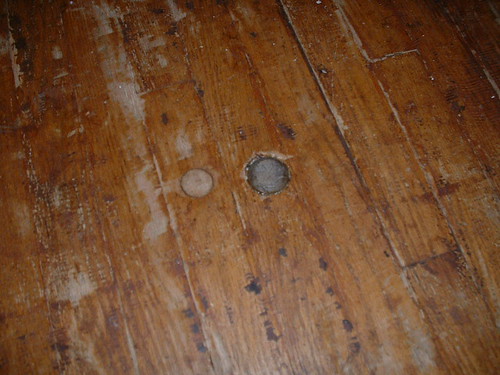
The glory holes in the floor that once transmitted the cooktop's gas and electricity found themselves plugged with wood lopped off the end of my garden shears.
I replaced this convoluted bastard at least three times, so this photo is an homage to that toil. The T in the cold water line (at center) feeds the pot filler.
More funky plumbing (pic taken in the basement beneath the sink).
With even more mud on the walls filling in the irregularities, the electrician showed up to install this stove outlet for the dual fuel range. At right is a little improvised shield I fastened over the pot filler's water line to protect it. I told you a fetishize that thing!
Wet mud on the walls and lots of new electrical outlets installed.
More walls ...
... and the outlet for the fridge (which will be hidden behind a cabinet).
To be continued!
Okay, I have some more evidence of domestic labor -- of a sort. (Or maybe, more correctly, it's evidence or work in the service of domestic labor ... or that facilitates domestic labor which is, I guess, a form of service ... or ...)
.........................................
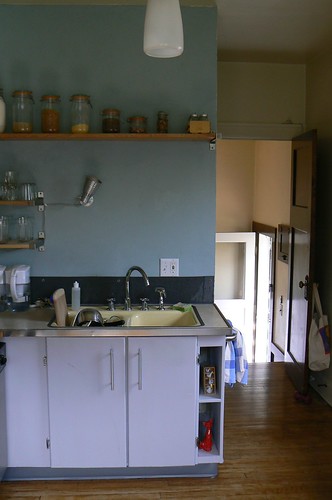
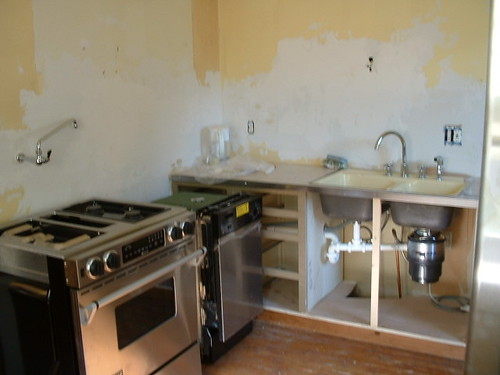
With the sink's counter in place, we glued down a Formica-style top, repurposed the old steel edging, and installed the old sink. (Cleaned up and with new fixtures.)
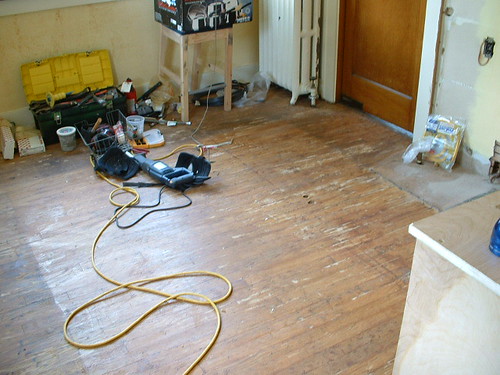
I also (finally) removed the carpet and scraped the tar out of the back hallway ... to make way for tools.
Another shot of el guapo sinko. (It's very deep.) As BP about how heavy that sucker is ...
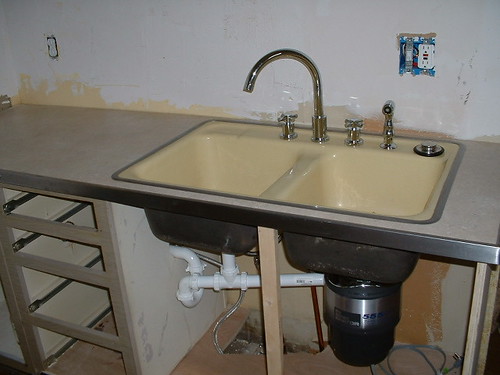
I think I took this one to show the garbage crucher in place, plumbing, etc. Working w/ the old plumbing waste line was no fun (and it still doesn't drain quite right). Oh well ...
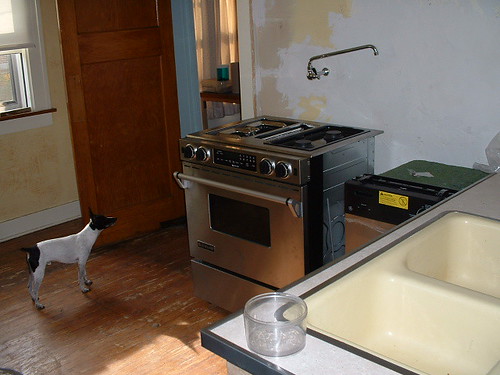
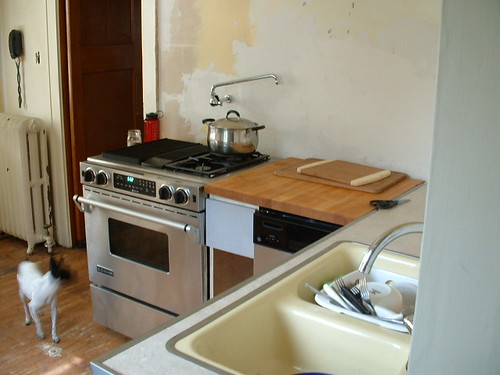
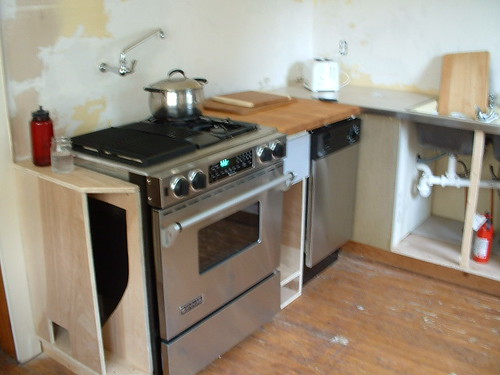
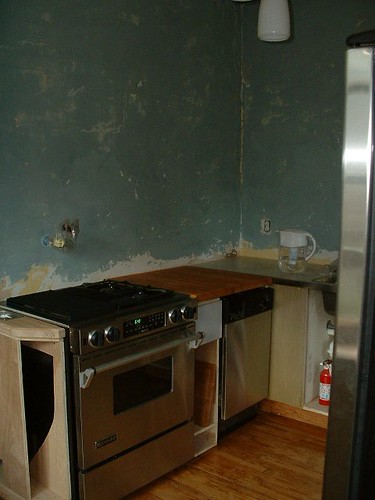
And then our buddy Wayne finally showed up w/ the appliances.
Sans cabinetry and various work surfaces.
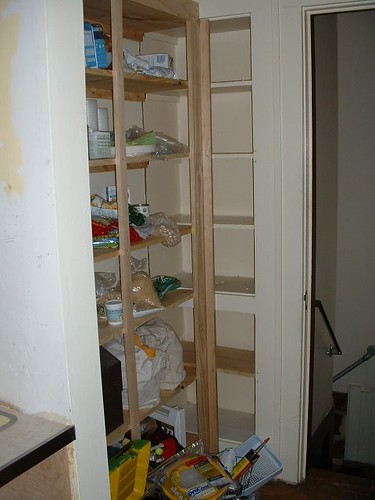
A rough version of the new built-in "unit" I built in the back hallway today. It's still in need of some putty, trim, and (obviously) paint. Since we don't have much storage space in the kitchen itself, this will hold all of our dry food, cans, etc.
Though the power's not hooked up yet, BP managed to sear up some tofu tonight using the new range!
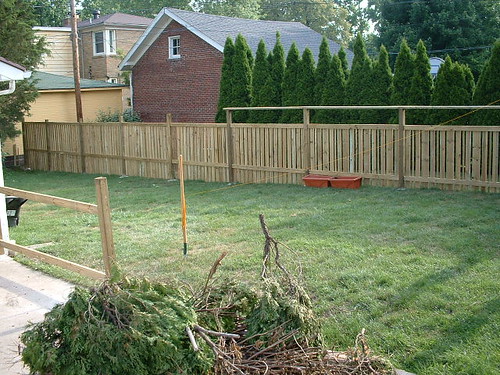
Oh, and here's a shot of the fence in-progress. (When the kitchen stalled out due to the appliances not arriving, we got to work outside.) The fence is a take off on one BP and I built for The Translator a few years back, though the materials available here are quite different.
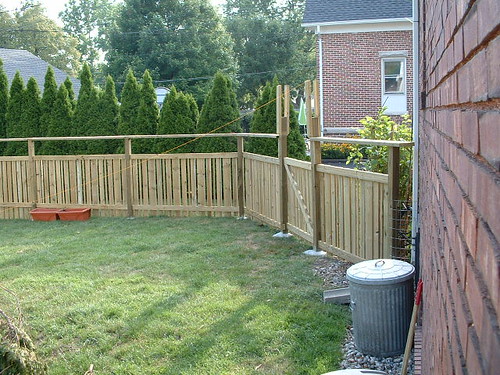
And more fence in progress.
That's it for now. I plan to be (roughly) doneish with things by Sunday night, so I'll put up some more Evidence then. :)
Some more kitchen movin' and shakin'. You may be bored with this; I am certainly starting to tire of it. But! It's becoming useable and nearly done ... yay!
Some of the cabinet work starting to take shape. I found the butcher block countertop at a garage sale. :)
The freshly finished floors ...
And as the floors dried, I put the first coat of the plastery finish on the walls.
A few more images from the kitchen remodel. When I get a minute, I plan to put these posts together into a single viewable page. But until then ...
Oh, and I should also say that everyone's pal Michael Berube posted recently on having absolutely no acumen for home fix-up and repair. Being unable to wield a chainsaw, as his post describes, lends him academic/intellectual cred, I think (in addition to being a bit funny; if you like his stuff, that is). Though I continue to jeopardize any such cred I might garner by appearing inept in the ways MB describes, I post thusly:
Okay! When last you heard about our kitchen project, you saw that cabinets were coming into place and plaster was being spread around the walls. Well, all but a bit of cabinetry is now complete, so I'm posting this set of pictures and thinking they'll be the last. If you want to see finishing touches, you'll have to come visit. :)
......................
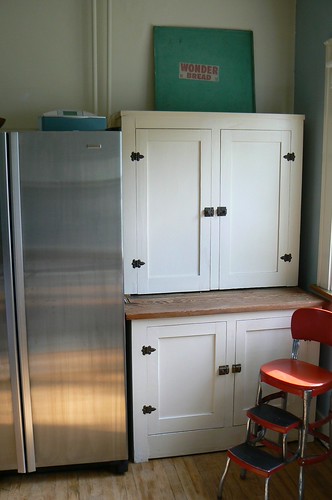
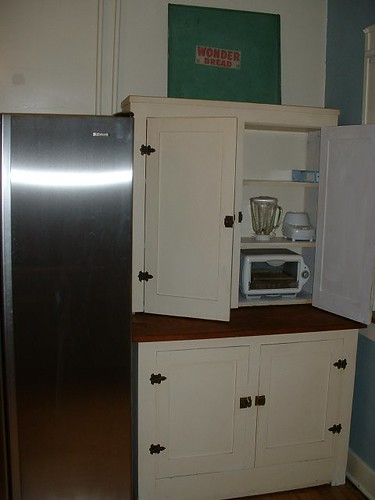
The old country cupboard that was original to the house (it had been living in the back of the basement), refurbished a bit and now home to various appliances (to the right of the fridge).
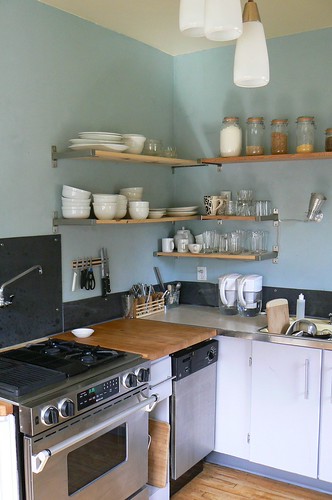
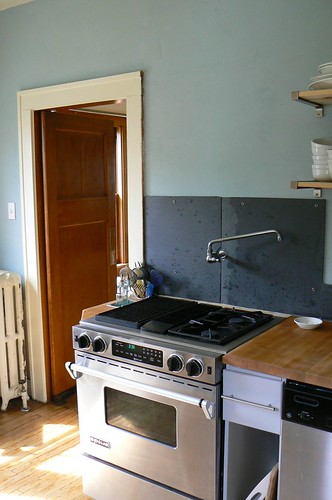
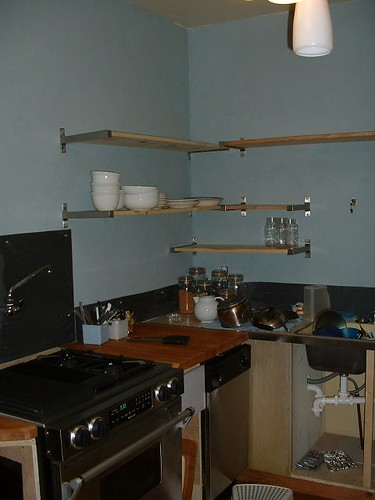
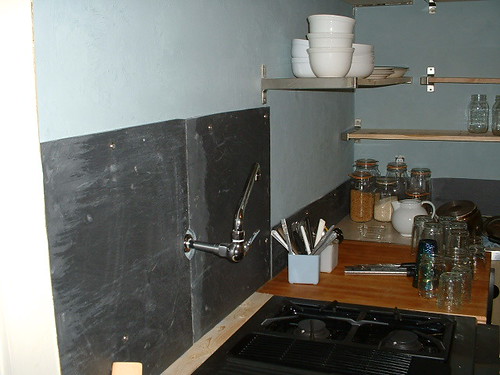
Here you can get a sense of how the backsplash (an old elementary school chalkboard) and tinted plaster work together -- nicely, I think.
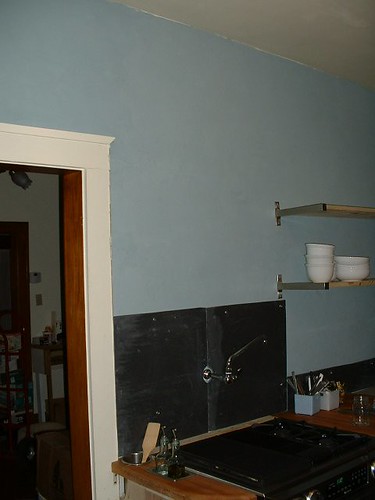
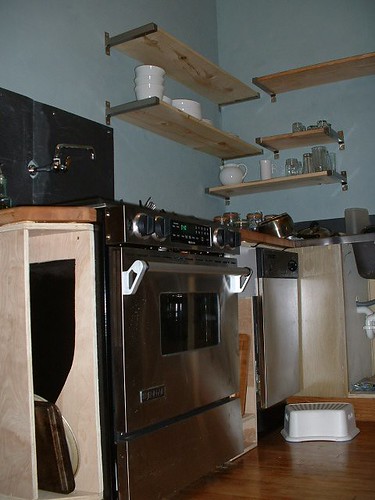
And with our open shelving beginning to fill up. Had thought I'd paint those boards; not sure now.
The built-in shelves in the back hallway/pantry with a somewhat noisy emsemble of bins and baskets -- something we plan to tone down a bit.
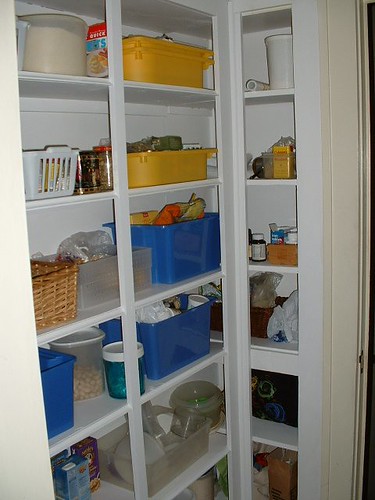
From another angle (or something like that).
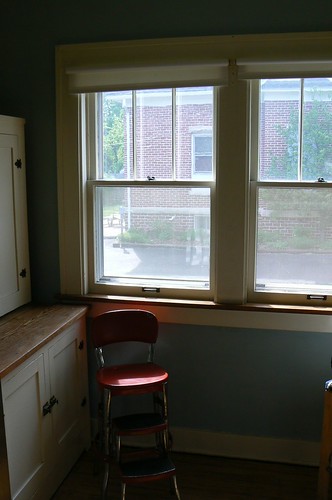
And as you can see, the cabinets still need some finishing: trim, shelves, a drawer or two, paint. But whatever, it's practically done.
Last night, after finishing up for the day, we sat around in the kitchen for a bit remembering the old carpet, the peninsula that is no more, and despite the little cracks and uneven oddities that characterize the new space, generally purred with satisfaction over it.
And here is a final set of images going around the room in its finished state.